I've seen many people asking how this is done, and it's an incredibly easy effect to do -- hopefully this tutorial will clear things up for you =]
This tutorial is split into two parts: animating avatars/signatures, and animating text.
Animating Avatars/Signatures
Technique 1
As far as I know, this technique can be done in any type of software that allows you to use layers. For this example, I'm using Photoshop CS5.
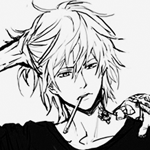
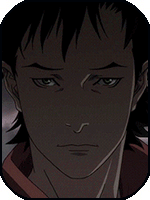
Begin by pasting your image into Photoshop, and also opening up a new canvas slightly longer and a lot thinner than the image you want to make shine. Example:
The long rectangle should be on a white background by default (if you want a different colour, just fill it) -- paste the thin rectangle onto the canvas of the image you want to make shine. Lower the opacity to your liking, and rotate the rectangle to a position you're happy with.
Move the rectangle into the corner that you want the shine to come from and hide the layer, then open up your animation software (I used Adobe ImageReady, but Animation Shop and such is totally fine too). Paste your canvas into your animation software as your first frame.
Go back to Photoshop, and unhide the rectangle layer. As it should already be in the corner you want the shine to come from, just copy and paste that into your animation software as the second frame. Make sure that the rectangle is really far up in the corner.
Again, go back to Photoshop. Move the rectangle across slightly, to create a shining effect. Paste your image into your animation software, and repeat until you're done.
Technique 2
As far as I know, this technique can only be done in Photoshop. This technique will give you a softer shine effect.
Like with the last technique, paste the image you want to make shine into a new canvas. Select the gradient tool, and select the icon that looks like a line going right through the middle.
This tool can be a little tricky to do at first, so you might need to practice before you get a result you're happy with. Add a new layer, click on your canvas, and drag the click to create a gradient. You'll need a really thin gradient for this effect, and you'll need to try to position it in the longest possible stretch (in my case, it needs to stretch from the top right corner to the bottom left corner). Here's what you should end up with:
Once that's out of the way, do what you did last time by moving the shine to the corner you want it to come from, and hide the layer. Paste the image into your animation software, go back to Photoshop, move the shine across slightly, and repeat. Done!
Animating Text
This technique is for text that has a sort of outline around it, and will show you how to make only the inside part of the text shine.
Firstly, you're going to need Photoshop. I'm using Photoshop CS5, but any version is fine as long as it supports clipping masks.
Begin by creating a new canvas with your text. If you want to add effects like an outer glow etc, go ahead.
Create a new layer, and decide which technique you want to use for your shine. I went with technique 2.
You'll now need to right click on the layer with the shine. Make sure that it's placed right above the text layer, and select "create clipping mask", like this:
Your shine will now have been placed "inside" the layer below.
As you did before, gradually move the shine across the image and put each frame into your animation software. Voila =]
★ ★ ★
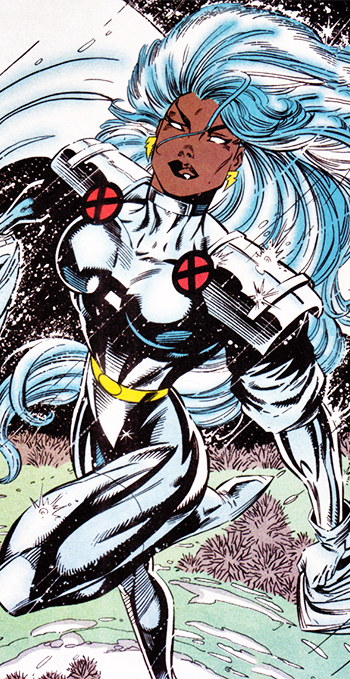
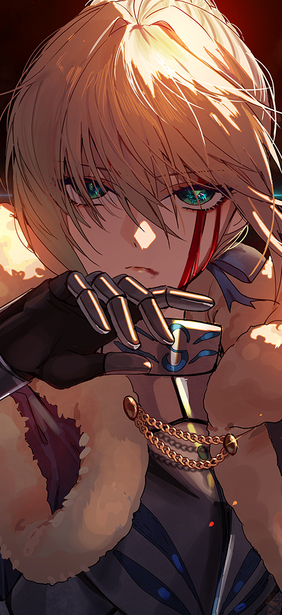
That last technique can be great for animating things on backgrounds too, like these:
If there was something you didn't quite understand, please let me know and I'll try to clear it up for you :3 I hope this tutorial was useful.
This tutorial is split into two parts: animating avatars/signatures, and animating text.
Animating Avatars/Signatures
Technique 1
As far as I know, this technique can be done in any type of software that allows you to use layers. For this example, I'm using Photoshop CS5.
Begin by pasting your image into Photoshop, and also opening up a new canvas slightly longer and a lot thinner than the image you want to make shine. Example:
You must be registered for see images
The long rectangle should be on a white background by default (if you want a different colour, just fill it) -- paste the thin rectangle onto the canvas of the image you want to make shine. Lower the opacity to your liking, and rotate the rectangle to a position you're happy with.
You must be registered for see images
Move the rectangle into the corner that you want the shine to come from and hide the layer, then open up your animation software (I used Adobe ImageReady, but Animation Shop and such is totally fine too). Paste your canvas into your animation software as your first frame.
You must be registered for see images
Go back to Photoshop, and unhide the rectangle layer. As it should already be in the corner you want the shine to come from, just copy and paste that into your animation software as the second frame. Make sure that the rectangle is really far up in the corner.
You must be registered for see images
Again, go back to Photoshop. Move the rectangle across slightly, to create a shining effect. Paste your image into your animation software, and repeat until you're done.
You must be registered for see images
Technique 2
As far as I know, this technique can only be done in Photoshop. This technique will give you a softer shine effect.
Like with the last technique, paste the image you want to make shine into a new canvas. Select the gradient tool, and select the icon that looks like a line going right through the middle.
This tool can be a little tricky to do at first, so you might need to practice before you get a result you're happy with. Add a new layer, click on your canvas, and drag the click to create a gradient. You'll need a really thin gradient for this effect, and you'll need to try to position it in the longest possible stretch (in my case, it needs to stretch from the top right corner to the bottom left corner). Here's what you should end up with:
You must be registered for see images
Once that's out of the way, do what you did last time by moving the shine to the corner you want it to come from, and hide the layer. Paste the image into your animation software, go back to Photoshop, move the shine across slightly, and repeat. Done!
You must be registered for see images
Animating Text
This technique is for text that has a sort of outline around it, and will show you how to make only the inside part of the text shine.
Firstly, you're going to need Photoshop. I'm using Photoshop CS5, but any version is fine as long as it supports clipping masks.
Begin by creating a new canvas with your text. If you want to add effects like an outer glow etc, go ahead.
You must be registered for see images
Create a new layer, and decide which technique you want to use for your shine. I went with technique 2.
You'll now need to right click on the layer with the shine. Make sure that it's placed right above the text layer, and select "create clipping mask", like this:
You must be registered for see images
Your shine will now have been placed "inside" the layer below.
You must be registered for see images
As you did before, gradually move the shine across the image and put each frame into your animation software. Voila =]
You must be registered for see images
★ ★ ★
That last technique can be great for animating things on backgrounds too, like these:
You must be registered for see images
You must be registered for see images
If there was something you didn't quite understand, please let me know and I'll try to clear it up for you :3 I hope this tutorial was useful.